A Practical Guide to External Integration for Small Businesses
Your booking tool does not talk to your email list, and your invoices live in a third app. Every manual copy-paste between them costs you an hour you could spend selling. Integration is how small teams stop paying that tax. The extended breakdown lives at com.bot.
This guide walks you through the integration types that matter most, how to audit your current tools before you connect anything, and how to choose between native connectors, APIs and no-code builders. You will also get a launch checklist, cost and security guardrails, and the mistakes that sink first attempts.
What External Integration Means for a Small Business
External integration connects your core business tools, like accounting, CRM, or e-commerce, to outside services so data flows automatically instead of being re-entered by hand. It links separate software systems so they share data and trigger actions on their own.
This differs from internal integration, which keeps data moving within a single suite from one vendor. External integration works across vendors, joining tools that were never designed to talk to each other.
A simple example: syncing Shopify orders to QuickBooks so invoices generate without manual entry. The payoff is fewer errors, hours saved each week, and real-time visibility into sales and cash flow.
Common Integration Types: Payments, CRM, E-commerce and Messaging
Four integration categories deliver the fastest payback for small businesses: payments, CRM, e-commerce, and messaging. Each connects a daily-use tool to a third-party service, usually through an API, a webhook, or a native connector built into one of the apps.
Start with the category where your team currently copies and pastes the most data. That is where automation pays off first.
- Payments: Connect a payment gateway like Stripe or PayPal to your invoicing or accounting software so transactions reconcile automatically. The typical mechanism is a REST API or webhook that pushes each charge into your ledger. The benefit is faster reconciliation and fewer matching errors at month end.
- CRM: Sync website form submissions directly into HubSpot, Zoho, or a similar CRM to eliminate manual lead entry. This usually runs on a webhook or a native connector, with OAuth handling authentication. Leads reach sales faster, and nothing sits unread in an inbox.
- E-commerce: Link your e-commerce platform to an ERP or inventory management tool so stock counts update across every sales channel. APIs or middleware handle the data synchronization. Overselling drops, and reordering becomes predictable.
- Messaging: Route WhatsApp or Facebook Messenger inquiries into your help desk software so conversations become trackable tickets. A native connector or API does the routing. Response times improve because nothing depends on one person's phone.
Each type relies on the same building blocks: an endpoint, authentication through an API key or OAuth, and data mapping that translates fields between systems. Watch for rate limiting on high-volume connections, and confirm the integration supports the fields you actually use before committing.
You do not need to build any of this from scratch. No-code and low-code platforms, along with iPaaS tools, let a small team connect these services without writing custom code. The result is better system interoperability, cleaner data synchronization, and less time spent on repetitive admin work.
Assessing Your Readiness Before You Integrate
Before you connect a single API, map your current tools, data flows, and manual workarounds to avoid creating new silos. Readiness assessment is not a technical exercise reserved for developers. It is a plain-language review any owner can run with a notebook or spreadsheet.
Skipping this step is how integration sprawl begins. One connector leads to another, nobody remembers who owns the data, and dirty records spread between systems faster than anyone can clean them.
The audit below walks through a simple method: list what you use, trace how information moves, and score each potential connection before you commit.
Auditing Your Current Tools, Data and Workflows
Start your audit by listing every tool that touches customer data, from your point-of-sale to your email service provider. A three-column template keeps this manageable:
| Tool | Data In / Out | Owner |
|---|---|---|
| E-commerce platform | Orders out, inventory in | Operations lead |
| Accounting software | Invoices in, payment status out | Bookkeeper |
| Email service provider | Contact lists in, campaign results out | Marketing |
| Help desk software | Tickets in, customer history out | Support manager |
Next, trace one customer order from purchase to fulfillment. Note every point where someone re-enters the same information by hand. Those re-entry points are your strongest integration candidates.
Sort each tool into two groups. Integration-ready systems offer open APIs or native connectors. Closed systems may need middleware or an iPaaS layer, or may not be worth connecting at all.
While tracing, flag data quality problems: duplicate contacts, inconsistent date formats, missing fields, mismatched customer IDs. Fixing these before integration prevents errors from multiplying across systems.
Finally, score each potential integration on impact (1-5) and effort (1-5). Prioritize high-impact, low-effort connections first, especially those that remove the most manual steps or plug revenue leakage such as missed follow-ups or unbilled orders.
Choosing the Right Integration Approach
Your integration approach should match your technical resources, budget, and how custom your workflows are. Most small businesses face the same trade-off: speed versus cost versus flexibility.
Native connectors are the fastest path, since they come built into the software you already use. Direct API development offers maximum control but demands developer time and ongoing upkeep. No-code and low-code automation builders sit in between, letting you connect tools visually without writing code.
Start simple. Most small businesses begin with native connectors and escalate only when a critical tool lacks one. The comparison below breaks down setup effort, maintenance, cost, and best-fit scenarios for each option.
Native Connectors vs. APIs vs. No-Code Automation Builders
Native connectors are pre-built links inside your existing software; APIs are custom code; no-code builders sit in between. Each approach solves a different problem, and many small businesses end up using more than one.
| Approach | Setup Effort | Ongoing Maintenance | Cost | Best For |
|---|---|---|---|---|
| Native connectors | Zero code, usually a few clicks | Minimal, handled by the vendor | Often included in your subscription | Standard connections between supported apps |
| Direct API development | Requires developer time and testing | Ongoing, since APIs and endpoints change | Development and maintenance costs | High-volume or unique processes |
| No-code builders | Visual mapping, no coding required | Low, but workflows need occasional review | Monthly fees based on task volume | Simple triggers and filling gaps between tools |
Native connectors work best when both systems already support each other, such as a CRM syncing contacts to an email service provider. They are limited to supported apps, so a missing connector can stall a workflow entirely.
APIs give you maximum flexibility. They can use REST, SOAP, or GraphQL, and authentication typically relies on OAuth or an API key. That flexibility comes with real costs: data mapping, rate limiting, and error handling all need attention, and endpoints can change without warning.
No-code integration platforms, sometimes grouped under the iPaaS label, handle simple triggers well. A new e-commerce order can create a shipping label or update inventory management automatically. Complex data transformation or ETL work, however, often exceeds what visual builders handle comfortably.
A practical sequence works for most small businesses:
- Start with native connectors for any tool pair that supports them.
- Move to no-code automation builders for gaps between third-party services.
- Reserve custom API development for high-volume, unique, or compliance-sensitive processes.
Review your integrations periodically. As your stack grows, a connection that once worked fine may need revisiting, especially when vendors update authentication, authorization, or data formats.
Step-by-Step: Planning and Launching Your First Integration
A disciplined launch process prevents the downtime and data corruption that plague ad-hoc integrations. For a small business, a failed external integration can disrupt order processing, accounting, or customer communications within hours.
Following a structured five-phase approach keeps risk manageable and results measurable.
- Scope definition. Identify the exact systems, data flows, and business outcomes. Define success metrics upfront, such as reducing order entry time or eliminating manual invoice exports.
- Data mapping. Document which fields move between systems, their formats, and any transformation rules. This is where most integration problems originate.
- Build or configure. Use an iPaaS, low-code platform, or direct API connection depending on complexity and budget.
- Test. Run controlled scenarios before touching live data.
- Go-live. Deploy gradually, monitor closely, and keep a rollback plan ready.
Defining success metrics early gives you an objective way to judge whether the integration delivered value. Without them, teams often mistake a technically working connection for a business win.
Once live, the work shifts from building to watching. The next section covers how to test thoroughly, monitor continuously, and troubleshoot the issues that surface after launch.
Testing, Monitoring and Troubleshooting After Go-Live
After go-live, set up alerts for failed API calls, webhook timeouts, and data mismatches before they cascade. A single broken field mapping can silently corrupt records across your CRM, accounting software, or inventory management system for days.
A solid testing protocol starts in a sandbox environment. Run a complete transaction cycle end to end, verify every field mapping against your documentation, and check error logs for warnings that did not trigger a visible failure. Repeat the cycle with edge cases, such as refunds, partial shipments, or currency variations, before enabling live data.
For monitoring, tools like UptimeRobot or built-in dashboards can track API response times and error rates. Set thresholds that trigger notifications, not just dashboards nobody checks.
Common post-launch issues tend to fall into three categories:
- Rate limiting. Exceeding API call quotas causes temporary blocks. Batch requests where possible and respect documented limits.
- Authentication failures. Expired OAuth tokens or rotated API keys break connections silently. Schedule token refresh checks.
- Data transformation errors. Date formats, currency conversion, and text encoding mismatches produce rejected or corrupted records.
When something breaks, work through a troubleshooting checklist:
- Confirm credentials are valid and current.
- Review recent changes to either system.
- Test with a single record to isolate the failure.
- Consult the API documentation for updated requirements.
For the first month after go-live, schedule weekly data reconciliation reports. Compare record counts and key fields between systems to catch drift early, before small discrepancies become expensive cleanup projects.
Keeping Costs and Security Under Control
Integration costs creep in through add-on fees, overage charges, and the hidden expense of maintaining custom code. A connection that looks free at signup can quietly become one of your larger monthly line items.
Security deserves the same ongoing attention. Every external integration expands your attack surface, so cost and security are twin concerns that require governance, not one-time setup decisions.
Most SaaS integrations run on usage tiers or per-task pricing, which means your bill scales with activity. A busy quarter can push you into a higher tier without anyone approving the change. Reviewing both spend and access rights on a regular schedule keeps surprises out of your budget and your risk register.
Budgeting for Add-Ons, Usage Limits and Support
Read the fine print on every integration: per-user fees, API call limits, and premium support can double your initial estimate. Build a full cost picture before you commit.
- Subscription tier upgrades needed to unlock the integration
- Add-on modules, such as advanced data mapping or ETL features
- Overage fees once you pass a usage threshold
- Developer hours for custom API work or middleware maintenance
- Support contracts for faster response times
Pricing models vary widely. A no-code integration platform might charge per 1,000 tasks, an ERP vendor might bill per additional API call, and a CRM might add a fee for each connected seat. None of these are unusual, but together they add up fast.
Set usage alerts so you learn about overages before the invoice arrives. Where volume is predictable, an annual contract often locks in better rates than month-to-month billing.
On the security side, insist on encryption in transit and at rest, role-based access controls, and audit logs that show who touched what. Prefer OAuth over shared API keys, since tokens can be scoped and revoked without rotating credentials across every system.
Review connected apps quarterly. Disconnect anything unused, and confirm that each remaining integration still follows your access policy.
Where a Unified Platform Fits: The Com.bot Approach
A unified platform bundles multiple integrations, messaging, payments, CRM, into one dashboard, reducing the number of separate connections you manage. Instead of stitching together five tools, a small business works from a single system that natively handles key channels and workflows.
This matters because every extra tool adds another API key, another authentication flow, and another point where data synchronization can break. Fewer connections mean fewer failure points and less time spent on maintenance.
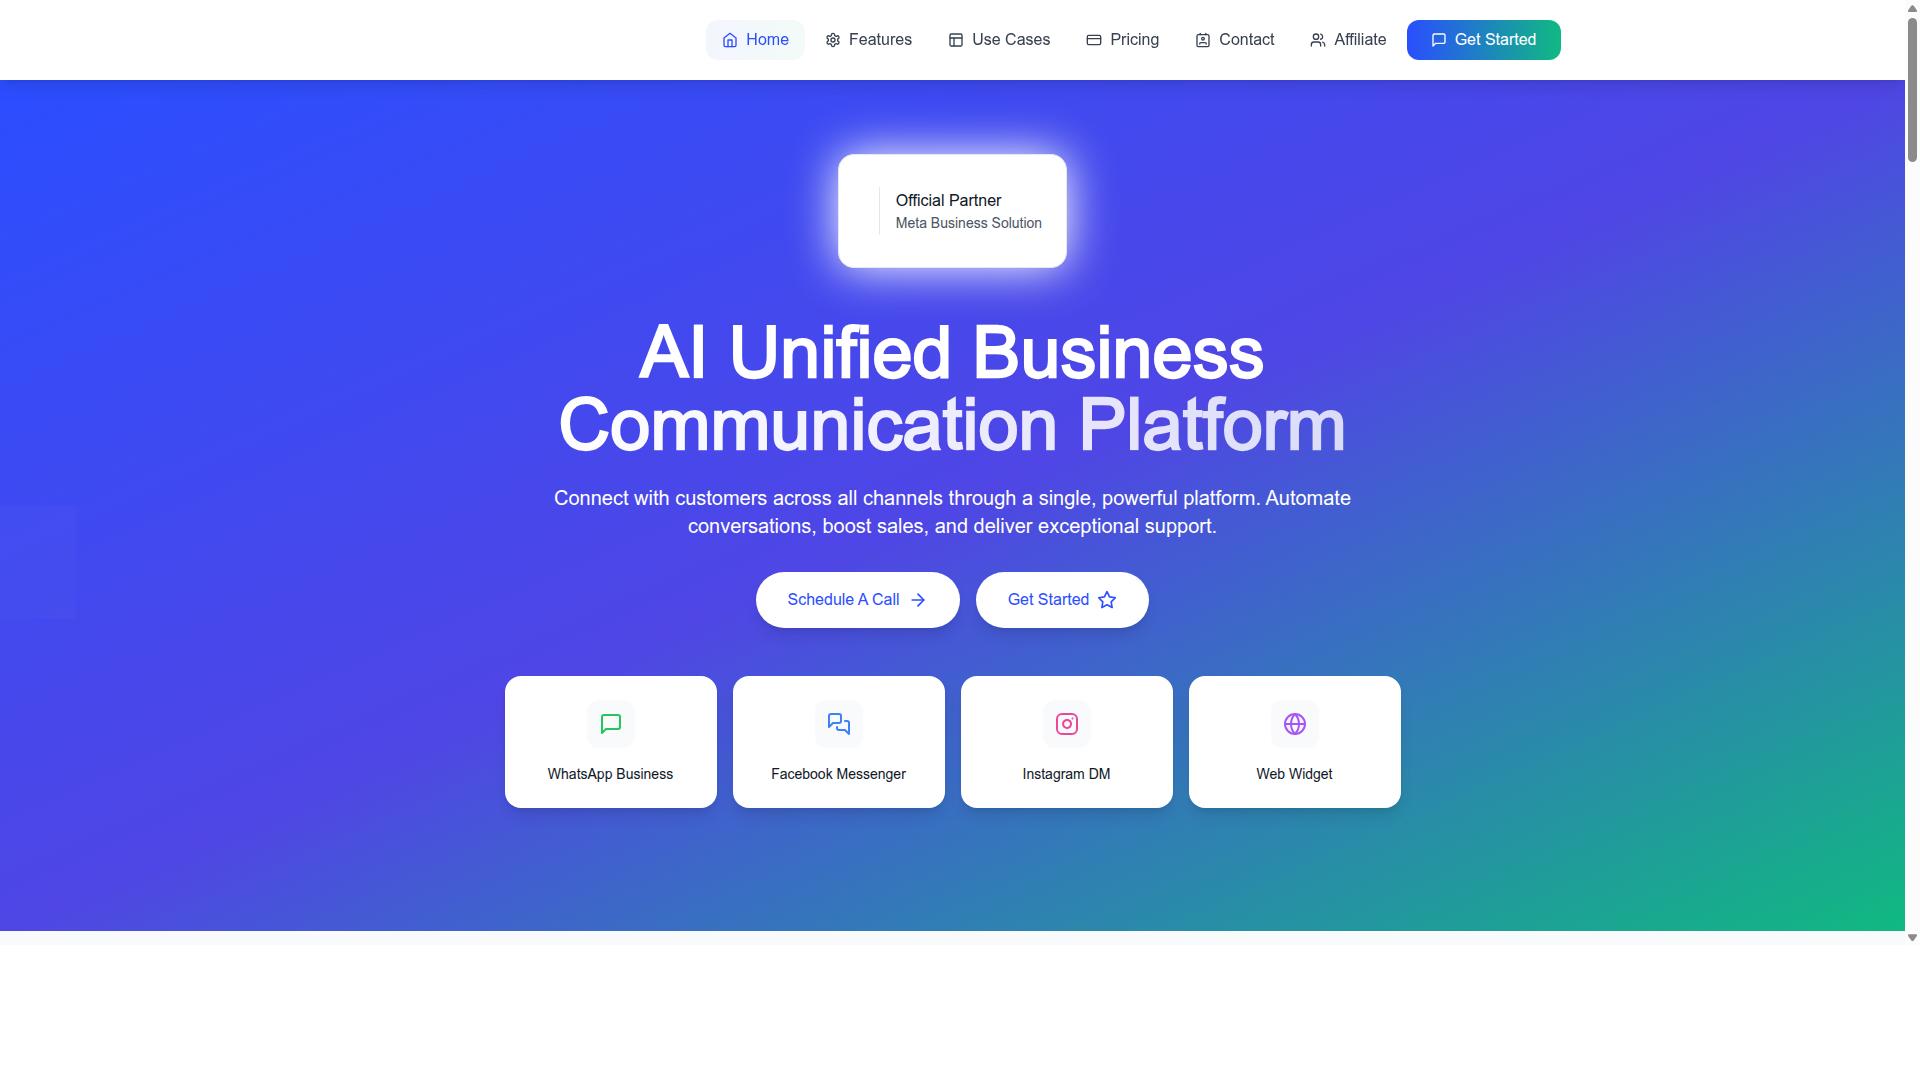
Com.bot is one example of this approach. It connects WhatsApp, Facebook Messenger, Instagram DM, and a web widget through a single platform, so conversations from four channels land in one place rather than four separate inboxes.
Channels, Automation Builder and Pricing Plans at a Glance
Com.bot offers a unified team inbox, a drag-and-drop bot builder, and native payments for WhatsApp, with plans starting at $149 per quarter. For a small business weighing a unified platform against a stack of separate tools, here is what the product includes.
- WhatsApp Business API integration through direct access as an Official Meta Business Partner
- Unified Team Inbox for managing conversations in one place
- Visual Bot Builder with a drag-and-drop interface
- Native Payments for WhatsApp transactions
- Multi-Channel Support across WhatsApp, Facebook, and Instagram
- Automation Builder with 1000+ integrations
- Team Collaboration with role-based access
Beyond messaging, the platform covers bulk messaging, order updates, customer support, smart chatbots, notifications, and payment collection. It serves businesses in 50+ countries and is owned and managed by Com Bot AI Limited.
Pricing runs across three tiers, billed quarterly:
| Plan | Price | Notes |
|---|---|---|
| Silver | $149 per quarter | Entry tier |
| Gold | $349 per quarter | Recommended |
| Platinum V1 | $2500 per quarter | Top tier |
Add-ons cost $10 per month each for an additional team member, an additional social channel, or each block of 5,000 external actions. That structure lets a small business scale seats and channels separately as volume grows.
For readers comparing unified platforms, the practical question is whether one subscription replaces several point tools. The channel coverage, automation builder, and payment handling here address the most common small business touchpoints in a single system.
Common Integration Mistakes Small Businesses Make
The most costly integration mistakes are rarely technical. They stem from skipping planning, ignoring data quality, and underestimating maintenance. A small team connects a CRM to an e-commerce platform in an afternoon, then spends months untangling duplicate customer records and failed orders. The fix is almost always process, not code.
Below are the pitfalls that show up most often when a small business connects third-party services, along with a practical remedy for each.
- Integrating without a data map. Teams connect two systems before agreeing on what each field means. A customer's "status" in the CRM may not match "status" in the accounting software, so records land in the wrong bucket. Consequence: invoices get sent to prospects who never bought anything. Fix: document field mappings, formats, and required values in a shared spreadsheet before writing a single API call.
- Assuming APIs are plug-and-play. Vendors advertise REST endpoints, but authentication flows, pagination, and payload shapes differ wildly between platforms. Consequence: a "quick" connection breaks the first time a record contains a special character. Fix: build and test in a sandbox environment first, using realistic sample data rather than a handful of clean test rows.
- Ignoring rate limits. Most APIs cap how many requests you can send per minute or hour. A nightly data synchronization job that fires thousands of calls at once will hit that ceiling. Consequence: the sync silently drops records, and nobody notices until a customer complains. Fix: monitor usage against published limits and set alerts before you approach the threshold.
- Neglecting error handling. Networks fail, tokens expire, and endpoints return 500 errors. If your integration assumes every call succeeds, one bad response can halt an entire workflow. Consequence: orders stop flowing to your inventory management system during a busy weekend. Fix: build retry logic with backoff, log every failure, and route unresolved errors to a human.
- Forgetting about security. Hard-coded API keys, unencrypted webhook payloads, and shared admin logins create openings that attackers actively scan for. Consequence: a leaked key exposes customer payment data and triggers a costly cleanup. Fix: use OAuth where available, store credentials in a secrets manager, and encrypt data in transit and at rest.
- Over-integrating. It is tempting to connect every tool in the stack at once. Each new connection adds another failure point, another vendor to monitor, and another set of credentials to rotate. Consequence: maintenance work crowds out the projects that actually grow revenue. Fix: prioritize the two or three connections with the clearest impact, such as payment gateway to accounting software, and defer the rest.
- Failing to train staff. An integration that nobody understands becomes an integration nobody trusts. Employees revert to manual entry, and the two systems drift apart. Consequence: you pay for automation while staff duplicate the same work by hand. Fix: write short standard operating procedures covering what the connection does, what to check daily, and who to contact when it breaks.
Notice a pattern. Six of these seven mistakes happen before or after the technical work, not during it. Planning the data model, testing realistically, and documenting ownership prevent more outages than any clever piece of code.
One more habit helps. Review every integration quarterly. Ask whether the connection still serves a purpose, whether anyone monitors it, and whether the vendor has changed its API. Small businesses rarely have a dedicated integration team, so a scheduled check is the closest thing to one.
Recommended Resources: